This blog was created to display my passion for sewing. I love making custom made clothing, I love seeing a piece of fabric transform into a garment. Please join me on my journey as I share my passion with you. I will blog about some of my life experiences as well.
January 2, 2016
TAKING A LOOK BACK at 2015
This is a look back at the garments I made for "myself" in 2015. I wanted to make more but I had a very busy schedule with starting my sewing business full time and teaching as well. Hopefully, I will be able to do more sewing for myself in 2016.
December 10, 2015
MY LOVE FOR SHEATH DRESSES
I LOVE Sheath Dresses.....when I bought this pattern #M6886, I didn't make it right away. I kept seeing a lot of my fellow sewist such as Erica Bunker post pictures of this dress, still I didn't make it. It wasn't until one of my students made this dress for her second project and I found out how EASY it was. I couldn't believe I had the pattern for about a year and I DID NOT make it, I was sleeping on this pattern. Once I found out how easy it was, I made two in one day, one with sleeves and one sleeveless, and there are two more to come.
I did make some adjustments to the pattern:
Cutting at the Lengthen or Shorten Line
Adding 1.5 inches to accommodate for my "junk in the trunk", LOL!!! I drew dashes across the paper.
I taped the bottom half of the pattern to the paper at the dashed lines.
I laid the cutting line of the pattern on one of the grid lines on my cutting mat to make sure when I draw the line to connect the added space it will be straight.
Necklace and earring set by Patrice Perfect Pieces
I did make some adjustments to the pattern:
- I cut a size 14 across the shoulder because I have short shoulders
- I cut a size 16 around the circumference of the arm
- I cut a size 18 in the waist and tapered it at the bottom for a more fitted look
- I cut the pattern at the lengthen or shorten line to add 1.5 inches to the back because I have some junk in my trunk, LOL!!!!, if I don't make the adjustment in the back, it will be high in the back.
- I cut the pattern at the lengthen or shorten line to add 1.5 inches to the front as well to make it even
- Here are pictures of the adjustments:
Cutting at the Lengthen or Shorten Line
Adding 1.5 inches to accommodate for my "junk in the trunk", LOL!!! I drew dashes across the paper.
I taped the bottom half of the pattern to the paper at the dashed lines.
I laid the cutting line of the pattern on one of the grid lines on my cutting mat to make sure when I draw the line to connect the added space it will be straight.
All of the adjustments are made.
The dress in leopard print knit.
Necklace and earring set by Patrice Perfect Pieces
The dress in black knit.
December 9, 2015
SEW BROS
Today was my first day teaching an "All Boys" sewing class. They were very excited about taking the sewing class.
Their first project is a sweat shirt, #Simplicity 1605.
Ironing their pattern pieces.
I explained the basic sewing tools they needed for Beginning Sewing, I explained the outside of the pattern, the instruction sheet and the pattern pieces to them. I took their measurements to make sure they cut the correct size. They were amazed about the pattern pieces that were inside the envelope.
One of the boys did not have his materials because his mother forgot to purchase it, so one of his classmates told him since his size was smaller, he could use his pattern so he would be ready for class next week. That really touched my heart.
There was a discussion about what they should name their group, they decided on "Sew Bros", LOL!!! how cute!!!
Today, they cut a pattern for the very first time.
I taught them how to iron their pattern pieces. One young man cut one piece one size too small so we had fix that, I had him iron all of the pieces before taping them back together.
Ironing their pattern pieces.
The last thing they did today was pin "some" of their pattern pieces to their fabric. The student that didn't have his fabric asked me if he could practice pinning with one of his fellow classmates. His classmate said "yes" and showed him how to pin the pattern to the fabric. This just warmed my heart.
They thanked me for teaching the class today.
December 4, 2015
TSALT
TAMARA SALTONSTALL is the owner and designer of the fashion line SALT. Tamara created the brand TSALT. Tamara loves vintage clothing but with a modern approach.
During our conversation, I found out that REBECCA DANENBERG is a New York designer, WOW!!!! She's a New York native, Rebecca has been dubbed as the original New York City's downtown designer. Rebecca made a name for herself in the 90's with an edgy namesake sportswear label. Rebecca Danenberg's designs are not for mainstream fashion, but for those who wants individuality in what they wear.
I have made several garments for TSALT, both Tamara and Rebecca are pleased with my work.
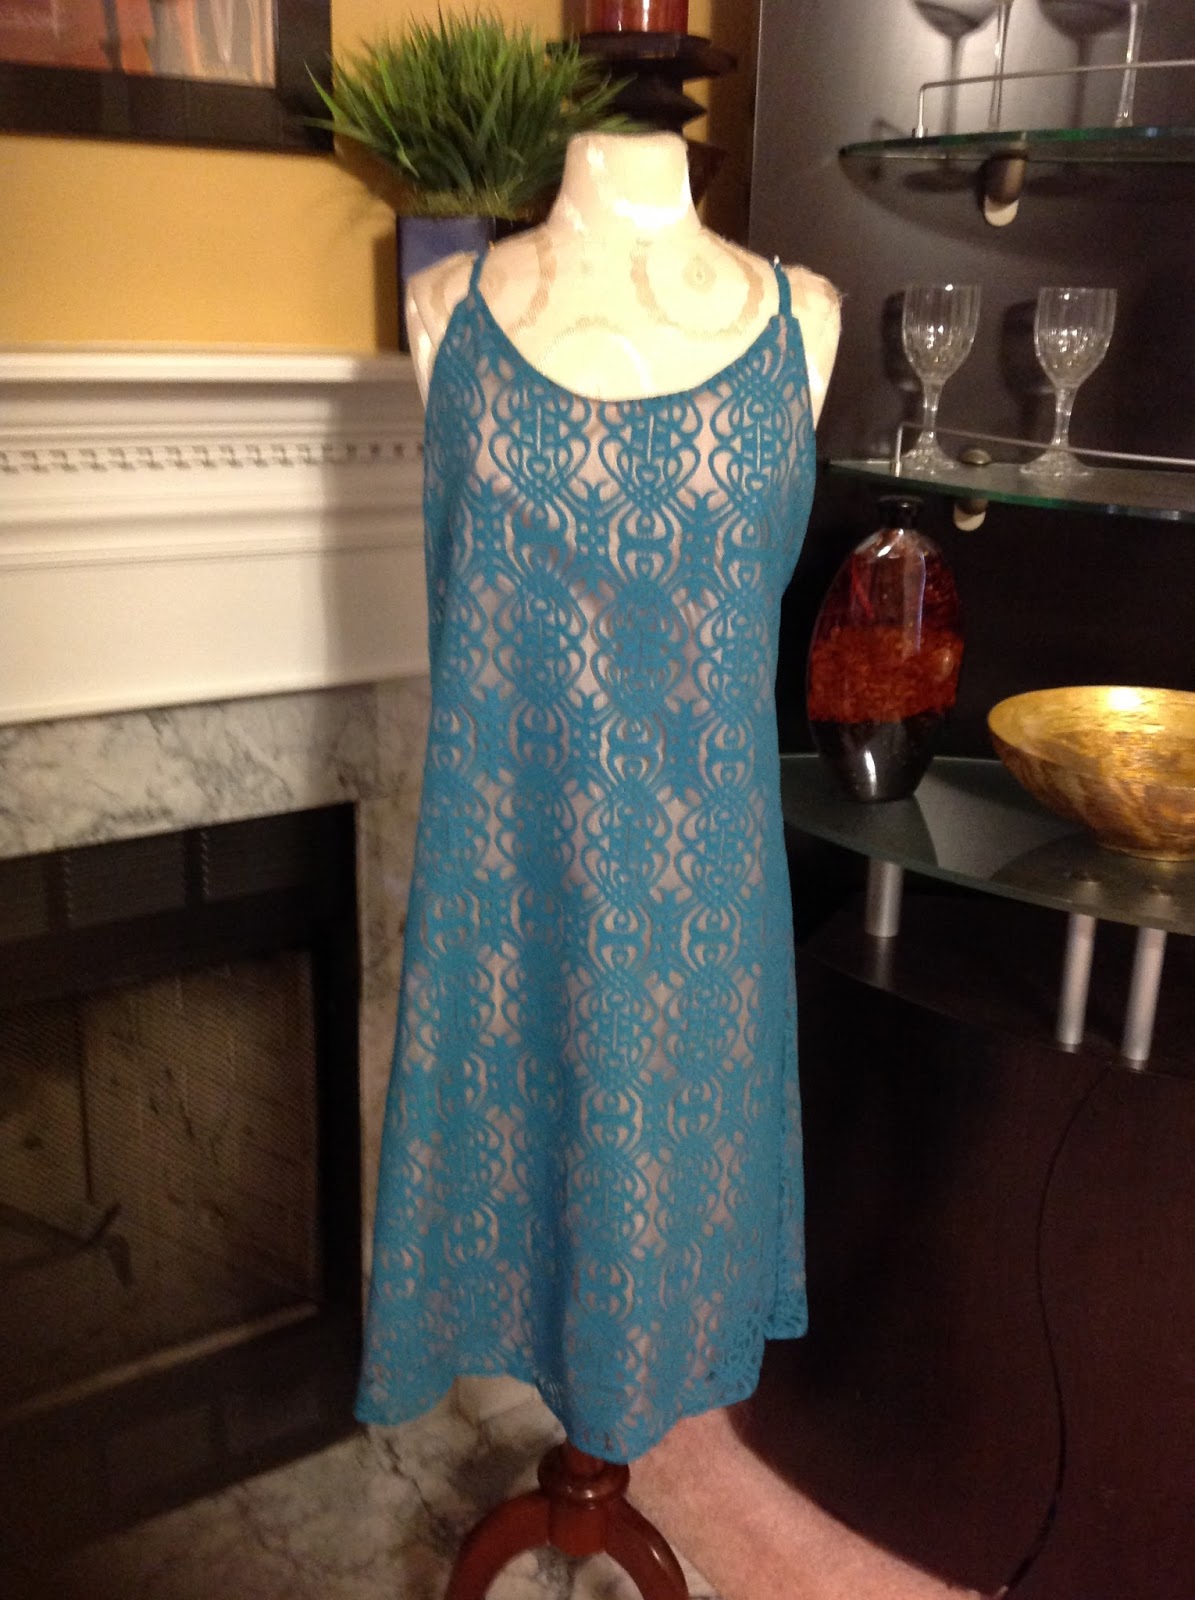
Here are pictures of the four most recent garments I've made for TSALT.
| FRONT OF LACE DRESS |
| BACK OF LACE DRESS |
| High waist elastic skirt |
These are the first garments I've made for TSALT, two mock wrap desses.
I look forward to growing this relationship with Tamara and Rebecca.
When I stepped out on Faith in June to do my sewing business full time, I had no idea I would be working with designers. I thank GOD everyday for this talent HE has blessed me with.
Subscribe to:
Posts (Atom)